There are two installs here and they share the first half. Read the whole thing before starting the second half, because that is where the caution is.
Step 1: pick the mounting position
Behind the rear-view mirror. It is the placement least likely to fall foul of any state's windshield rules, it is out of your own sight line, it is central for the widest useful view, and it sits inside the area the wipers actually clear. Every other position is a compromise on at least one of those.
Before you stick anything down, sit in your normal driving position and check the camera body is genuinely hidden by the mirror from your eye line.
Step 2: clean the glass properly
Adhesive mounts fail because of a film on the inside of a windshield that people do not realize is there — an oily haze from cabin plastics off-gassing. Clean with an alcohol wipe, let it dry fully, and mount in a warm car rather than a cold one. Suction mounts want the same preparation.
Step 3: route the cable to the A-pillar
Tuck the cable up into the gap between the headliner and the glass, working from the camera across to the passenger side. A plastic trim tool helps and a credit card will do. Keep it above the windshield seal so it stays hidden.
Step 4a: the socket install
- Continue the cable down the pillar edge and into the gap between the dashboard and the door seal.
- Run it along under the glovebox to the 12 V socket.
- Coil the excess and tuck it, rather than leaving a loop that will catch a foot.
- Done. Parking mode will not work, because on most vehicles that socket dies with the ignition.
Step 4b: the hardwired install
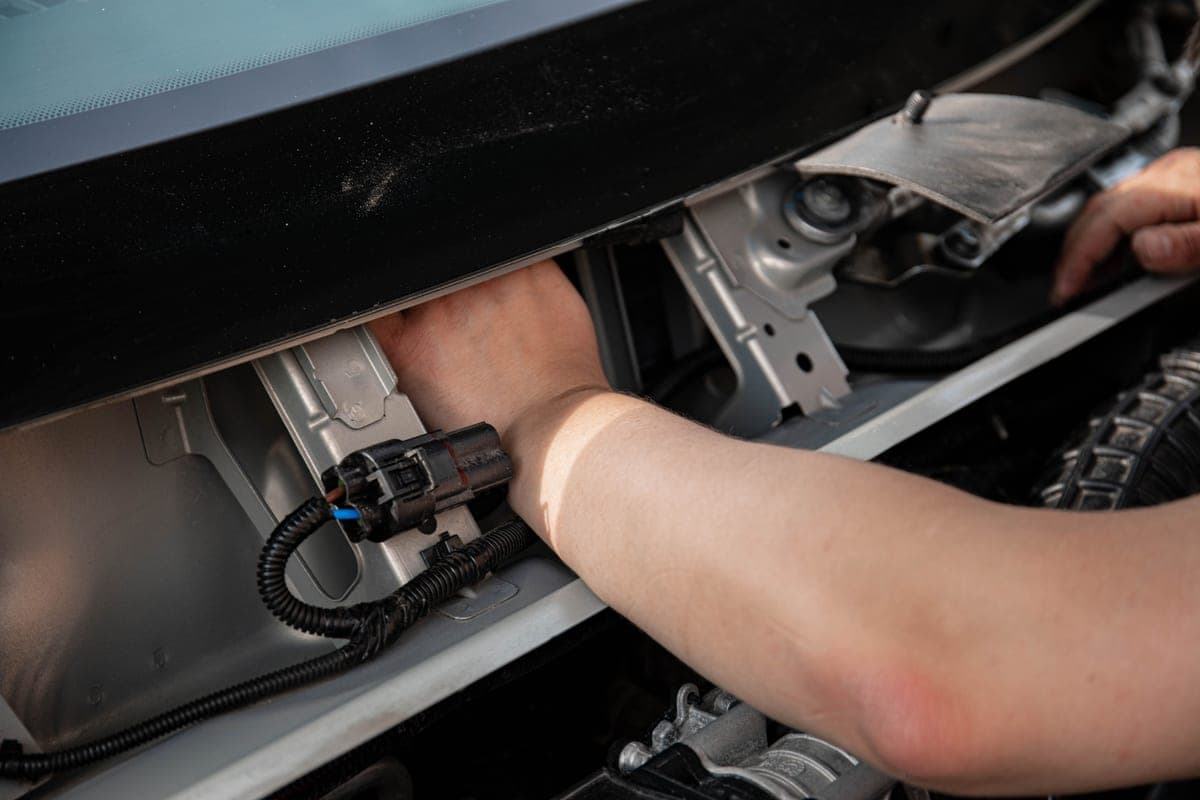
- Find the fuse box, usually behind a panel at the end of the dashboard or in the footwell. Your owner's manual has the location and the fuse map.
- Identify a constant fuse — live with the ignition off — and a switched fuse that is only live with the car running. A cheap circuit tester makes this certain; guessing does not.
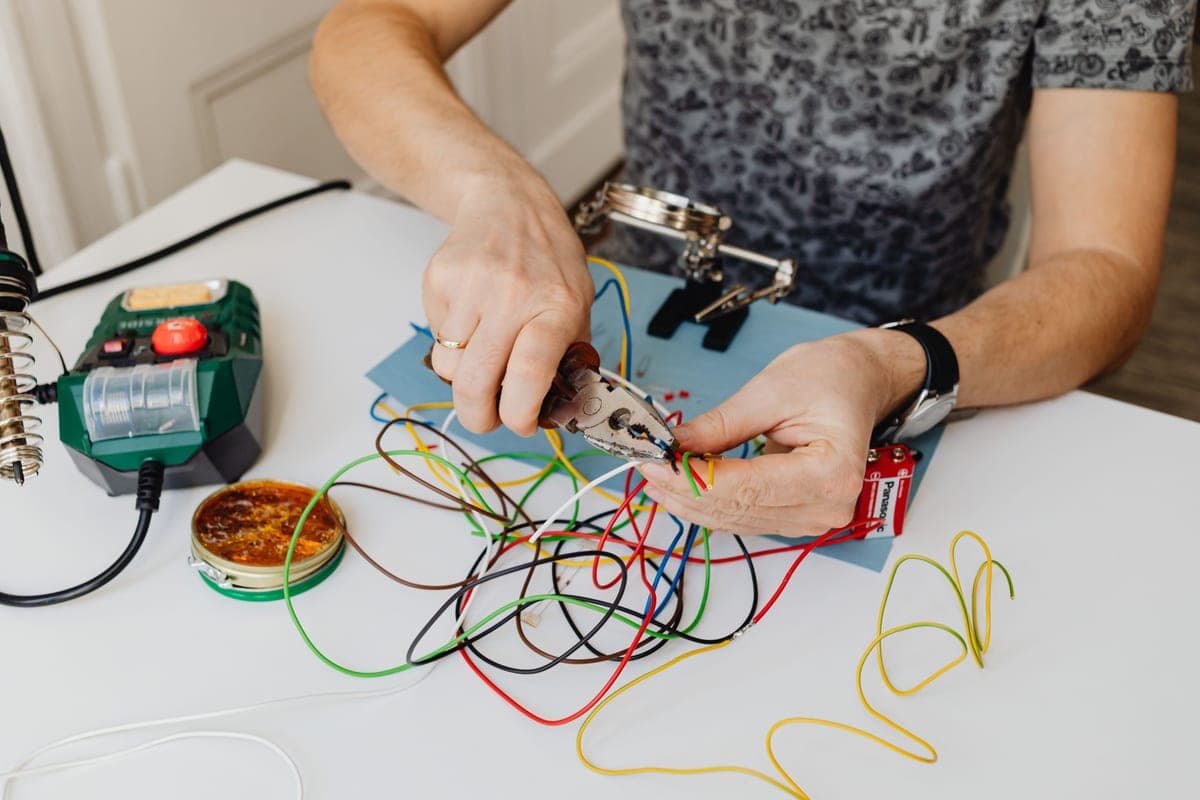
- Fit the add-a-fuse taps from the hardwire kit to those two circuits.
- Attach the ground wire to a bare metal bolt on the chassis, not to a painted surface.
- Set the kit's low-voltage cutoff if it is adjustable. This is what stops the camera flattening your battery.
- Test before reassembling: camera on with the ignition on, camera still powered with the ignition off, parking mode engaging as expected.
- Reassemble the trim, checking nothing is pinched.
Quick picks
| # | Product | Best for | Price |
|---|---|---|---|
| 1 | 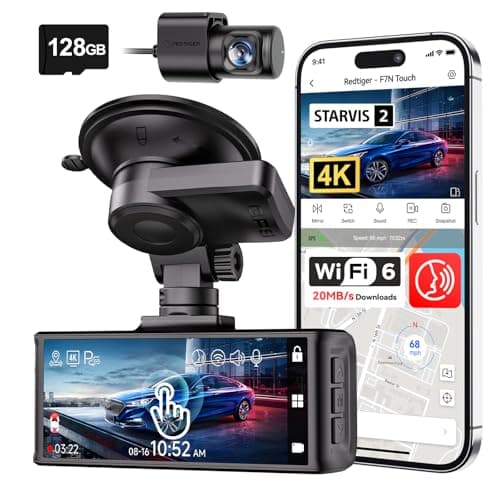 REDTIGER F7N Touch 4K Front + Rear Dash CamSTARVIS 2 sensor, 4K front, supercapacitor, GPS and a touch screen. On paper this is the most complete specification on this page. REDTIGER F7N Touch 4K Front + Rear Dash CamSTARVIS 2 sensor, 4K front, supercapacitor, GPS and a touch screen. On paper this is the most complete specification on this page. | The best-specified sensor here | $169.99 · View on Amazon #ad Price as of October 25, 2026. How we’re funded |
| 2 | 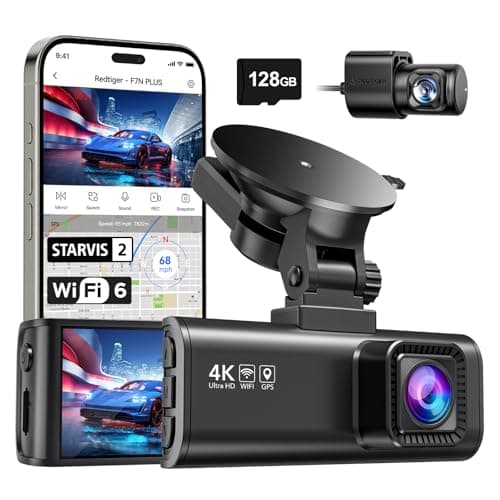 REDTIGER F7NP 4K Front + Rear Dash Cam, 24H Parking ModeThe only camera here whose listing states plainly that 24-hour parking mode needs a hardwire kit — which is true of all of them and admitted by almost none. REDTIGER F7NP 4K Front + Rear Dash Cam, 24H Parking ModeThe only camera here whose listing states plainly that 24-hour parking mode needs a hardwire kit — which is true of all of them and admitted by almost none. | Parking surveillance, done honestly | $149.98 · View on Amazon #ad Price as of October 25, 2026. How we’re funded |
| 3 | 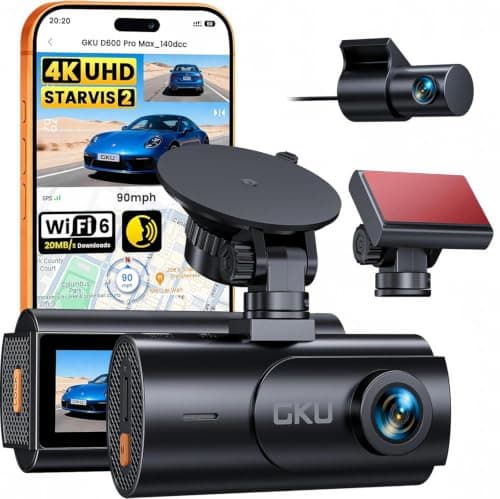 GKU D600 Pro Max 4K Dual Dash Cam, STARVIS 2The cheapest camera on this site that names its sensor rather than quoting megapixels — a Sony STARVIS 2, which is the part that decides whether a plate is readable at night. GKU D600 Pro Max 4K Dual Dash Cam, STARVIS 2The cheapest camera on this site that names its sensor rather than quoting megapixels — a Sony STARVIS 2, which is the part that decides whether a plate is readable at night. | A named sensor at the bottom of the price range | $79.99 · View on Amazon #ad Price as of October 25, 2026. How we’re funded |
#1 · The best-specified sensor here
REDTIGER F7N Touch 4K Front + Rear Dash Cam
REDTIGER
STARVIS 2 sensor, 4K front, supercapacitor, GPS and a touch screen. On paper this is the most complete specification on this page.
STARVIS 2 is Sony's low-light sensor line and it is the specification that actually decides whether a night plate is readable. Resolution without sensor quality gives you a very sharp picture of nothing.
A supercapacitor instead of a lithium battery is the right choice for a device that lives on a windshield. Batteries swell and fail in summer heat; capacitors tolerate it.
Parking mode on a G-sensor trigger records on impact. It does not record the person who keyed your door and walked away — that needs a motion or time-lapse mode and, usually, a hardwire kit.
What works
- STARVIS 2 sensor, published
- Supercapacitor rather than a battery
- 5 GHz Wi-Fi transfers footage far faster than 2.4 GHz
- 128 GB card included
What does not
- Rear camera is 1080p, not 4K
- Parking mode is impact-triggered rather than continuous
- No published operating temperature range on this listing
Skip this if
Skip it if you want true 24-hour parking surveillance. That needs continuous power and a hardwire kit, and this is not sold as that.
Where these numbers came from
We have not handled this product. Here is what we did instead.
#2 · Parking surveillance, done honestly
REDTIGER F7NP 4K Front + Rear Dash Cam, 24H Parking Mode
REDTIGER
The only camera here whose listing states plainly that 24-hour parking mode needs a hardwire kit — which is true of all of them and admitted by almost none.
Every 24-hour parking claim in this category assumes constant power. Your cigarette lighter socket usually dies with the ignition, so the camera dies with it.
A hardwire kit taps a fuse that stays live and includes a low-voltage cutoff so the camera stops before it flattens your battery. Budget for the kit and, if you are not comfortable behind a fuse panel, for the fitting.
REDTIGER saying this in the product title is the single most honest line in this category, and it is why this camera is on the page.
What works
- States the hardwire requirement up front
- STARVIS 2 sensor
- 5.8 GHz Wi-Fi
- Card included
What does not
- The hardwire kit is an extra purchase and an extra job
- Rear resolution not stated as 4K
- Fuse-tap installation voids nothing but does require care
Skip this if
Skip it if you will not hardwire it. Without constant power you have bought a driving camera, and the cheaper models on this page do that too.
Where these numbers came from
We have not handled this product. Here is what we did instead.
#3 · A named sensor at the bottom of the price range
GKU D600 Pro Max 4K Dual Dash Cam, STARVIS 2
GKU
The cheapest camera on this site that names its sensor rather than quoting megapixels — a Sony STARVIS 2, which is the part that decides whether a plate is readable at night.
A named sensor is the one specification that predicts night performance, and at this price it is usually the first thing to disappear behind a megapixel number. STARVIS 2 is the current Sony low-light part and it is stated outright here.
Pre-recording is the parking feature worth understanding. An impact trigger starts recording once something has already hit you; pre-recording keeps a rolling buffer, so you get the thirty seconds before the hit as well as after it.
Read the HDR line carefully, because it is a trade the listing states and most buyers miss: HDR only runs with the front camera alone. Plug the rear camera in and you lose it.
What works
- Names a Sony STARVIS 2 sensor rather than publishing megapixels
- Three parking modes including a pre-event buffer
- 5.8 GHz Wi-Fi 6 at up to 20 MB/s, the fastest transfer figure on this page
- Supercapacitor and built-in GPS
What does not
- No memory card in the box on this version
- HDR is unavailable whenever the rear camera is connected, per the listing
- Parking mode needs a hardwire kit sold separately
- 1080p rear
Skip this if
Skip it if you want to unbox it and drive. There is no card in this version and no hardwire kit, so budget for both before the headline features work.
Where these numbers came from
We have not handled this product. Here is what we did instead.
Step 5: the rear camera, if you have one
Route along the headliner to the C-pillar, down, and through the rubber grommet that carries the factory wiring into the tailgate. Use that grommet rather than routing around the hinge, and leave a loop of slack so the cable is not stretched when the tailgate opens. A cable pinched at a hinge fails intermittently, months later.
Mount the rear camera inside on the glass, low enough to sit within the rear wiper's swept area if your vehicle has one.
Step 6: set it up before you drive off
- Set the date and time, or enable GPS time sync. A timestamp is part of what makes footage usable as evidence.
- Format the memory card in the camera itself, not in a computer.
- Decide about audio recording — some states' consent laws make that a question worth answering deliberately.
- Check the framing: you want a little bonnet at the bottom of the frame for reference and as much road as possible above it.
- Note the file-lock button. Knowing where it is before an incident is the difference between saving the clip and losing it to the loop.
Sources
Everything on this page traces back to one of these. Where a figure could not be sourced, the page says so rather than filling the gap.