There is nothing difficult here, which is why almost nobody reads instructions for it and why the same two mistakes happen constantly. Both are in the last two steps.
Before you start
Work out which of the three retention types you have, because it changes the order of operations.
- Belt-slot anchored — there is a slot or strap intended to thread onto the seat belt anchor stalk. Most secure, and it needs the belt threaded before the filler is seated.
- Friction wedge — it simply pushes into the gap. Fastest, least secure, and it will need re-seating after seat adjustments.
- Adhesive-backed foam — a pad sticks to the console side. Least suitable for a hot cabin; if you have this, consider whether you can avoid using the adhesive.
The steps
- Slide the seat fully back and, if it reclines easily, tip the backrest forward. You want the whole length of the gap accessible.
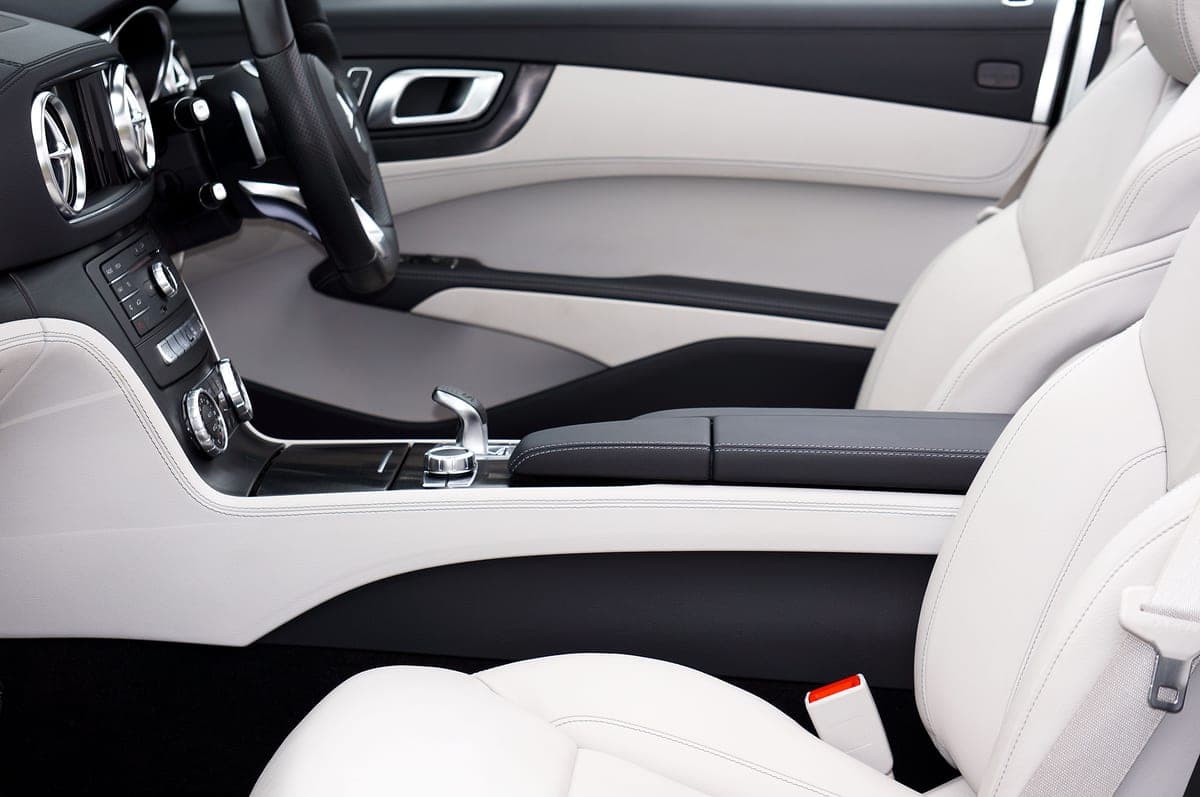
- Clear the gap. Whatever is down there comes out now — a torch and a thin implement, or a vacuum crevice tool. Anything left will end up under the filler and rattle.
- Wipe the console side of the gap. If your filler is adhesive-backed this is required; if it is not, it is still where the grime is.
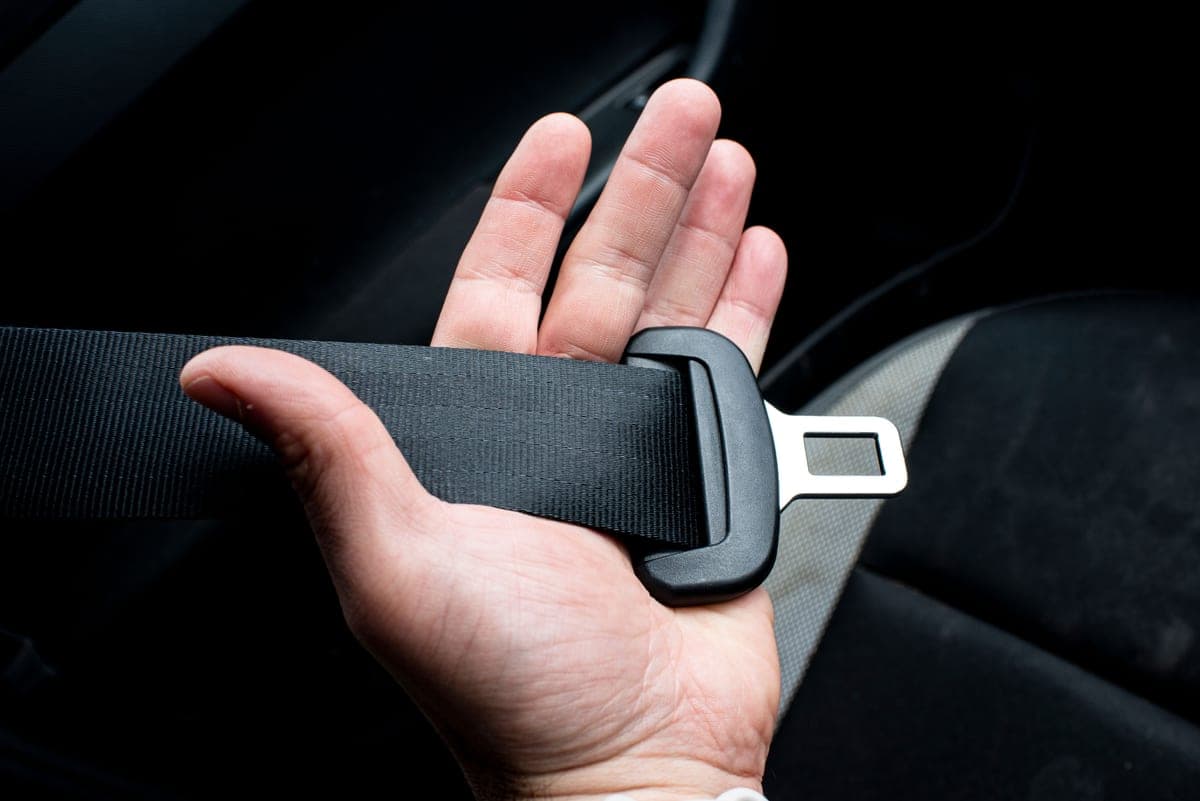
- If it is belt-slot anchored: thread the seat belt anchor through the slot before you seat the filler. Doing this after means taking it back out.
- Seat the filler from the console side, pressing down along its length so it sits at an even depth rather than tilted.
- Run the seat through its full travel, forwards and backwards, watching the filler. It must not jam, ride up, or end up in the seat rail.
- Do the safety check below. This is the step people skip.
Quick picks
| # | Product | Best for | Price |
|---|---|---|---|
| 1 | 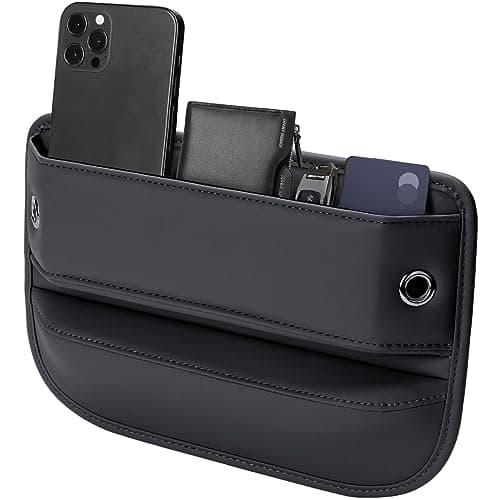 Owntow Premium Leather Seat Gap Filler Organizer, 0.2"–1.2" GapsPublishes the gap width it is designed for — 0.2" to 1.2" — and its own external dimensions, so both halves of the fitment question are answerable before you order. Owntow Premium Leather Seat Gap Filler Organizer, 0.2"–1.2" GapsPublishes the gap width it is designed for — 0.2" to 1.2" — and its own external dimensions, so both halves of the fitment question are answerable before you order. | Knowing before you buy whether it fits | $26.99 · View on Amazon #ad Price as of October 25, 2026. How we’re funded |
| 2 | 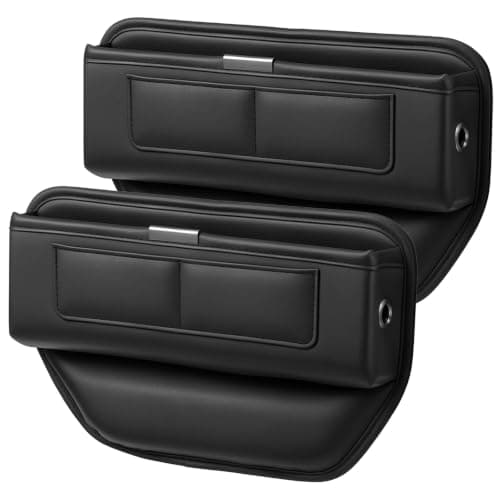 MySHUCE Premium Leather Seat Gap Filler Organizer, 2-PackThe same published 0.2"–1.2" fitment range as the single-pack pick, bought two at a time so the passenger gap closes as well as the driver's. MySHUCE Premium Leather Seat Gap Filler Organizer, 2-PackThe same published 0.2"–1.2" fitment range as the single-pack pick, bought two at a time so the passenger gap closes as well as the driver's. | Covering both sides in one purchase | $12.39 · View on Amazon #ad Price as of October 25, 2026. How we’re funded |
| 3 | 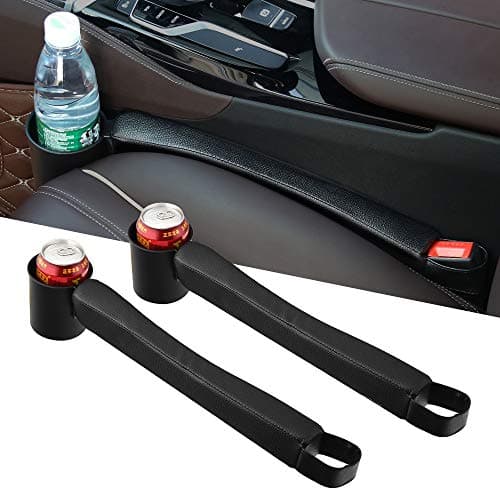 Supin Car Seat Gap Filler with Cup Holder, 2-PieceThe overlap product between two of our categories: a gap filler that also adds a cup position. If your cup holders are full and your gap is open, this closes both problems. Supin Car Seat Gap Filler with Cup Holder, 2-PieceThe overlap product between two of our categories: a gap filler that also adds a cup position. If your cup holders are full and your gap is open, this closes both problems. | One more cup holder, from the gap you already have | $19.99 · View on Amazon #ad Price as of October 25, 2026. How we’re funded |
#1 · Knowing before you buy whether it fits
Owntow Premium Leather Seat Gap Filler Organizer, 0.2"–1.2" Gaps
Owntow
Publishes the gap width it is designed for — 0.2" to 1.2" — and its own external dimensions, so both halves of the fitment question are answerable before you order.
Go and measure your gap now, with a ruler, at the widest point. If it is over 1.2" this product will sag into it, and no amount of "universal" in a listing changes that.
A single-pack is a deliberate choice: the driver's side gap is the one that swallows things. The passenger side rarely earns a second unit, and this one is reversible so you can choose which side it goes on.
The listing states it sits in front of the seat belt receiver without blocking seat movement, the belt or the cup holders. That is the detail to check against your own car, because a console-mounted belt buckle is exactly where 11.82" of gap filler wants to be.
What works
- Publishes an actual fitment range, which most of the category does not
- Publishes its own external dimensions as well as the gap range
- Reversible, so one unit works on either side
- Cable holes at both ends rather than a cord trapped under it
What does not
- Useless if your gap is wider than 1.2"
- One unit means the passenger gap stays open
- No published information on what holds the shape behind the leather
Skip this if
Skip it if you have measured a gap wider than 1.2". Buy a wedge-type filler that spans, not a box that drops in.
Where these numbers came from
We have not handled this product. Here is what we did instead.
#2 · Covering both sides in one purchase
MySHUCE Premium Leather Seat Gap Filler Organizer, 2-Pack
MySHUCE
The same published 0.2"–1.2" fitment range as the single-pack pick, bought two at a time so the passenger gap closes as well as the driver's.
Two units is the right default if your car has a console gap on both sides, which most do — the passenger one collects everything a passenger drops.
It publishes the same gap range as the single-pack Owntow, so the decision between them is quantity, not fitment. Measure once, at the widest point, and check it against 1.2" before you order either.
What it does not publish is its own size. The Owntow does, so if clearance around your seat belt buckle is tight, that is the one you can check on paper. The velvet lining is the detail worth noting beyond that: it is what stops keys and coins rattling in a hard-sided pocket over a rough surface.
What works
- Two units covers both front gaps
- Publishes a gap range rather than claiming universal fit
- Openings at both ends for charging cables rather than a trapped cord
- Velvet lining, so loose keys and coins do not rattle
What does not
- No published external dimensions
- Leather scuffs where the seat rubs it
- Two thin units are easier to dislodge than one braced box
- The listing names bucket seats with a high console as the best case, so a low console is a worse fit
Skip this if
Skip it if only the driver's gap is a problem. You are buying a spare you will leave in a drawer.
Where these numbers came from
We have not handled this product. Here is what we did instead.
#3 · One more cup holder, from the gap you already have
Supin Car Seat Gap Filler with Cup Holder, 2-Piece
Supin
The overlap product between two of our categories: a gap filler that also adds a cup position. If your cup holders are full and your gap is open, this closes both problems.
The cup position on these is narrow. It is a coffee-cup or can slot, not somewhere a 40 oz tumbler is going.
The maker does not publish the cup diameter, which is exactly the number you need. If you are trying to house a big bottle, buy a proper cup holder expander instead — we cover the sizes that actually fit.
What works
- Closes the gap and adds a cup position in one part
- Two pieces
- Dedicated small compartments for phone, cards and coins
What does not
- Cup diameter is not published
- The cup position is small
- PU leather over an unstated internal structure
Skip this if
Skip it if the cup you want to park is a Yeti or a Stanley. It will not fit and a cup holder expander is the right tool.
Where these numbers came from
We have not handled this product. Here is what we did instead.
Two mistakes that cause almost all the complaints
Fitting it with the seat in the wrong position
The gap is a different width at different points of seat travel. Fit it with the seat fully back, then check it in your actual driving position — that is where it lives, and a filler that is snug fully back can be loose four inches forward.
Not clearing the gap first
Coins, a pen, a crisp packet. Anything left under the filler rattles, and because it is now under a fitted product people assume the product rattles. Empty it first, with a torch.
If it will not stay put
Almost always the gap is wider than the product was designed for. A tapered catcher in a wide gap drops in at an angle and there is no fitting technique that fixes that — you need a wedge that spans, or a box that rests on the console shoulder. Measuring first is the fix, and it takes a minute.
Removing it
Slide the seat fully back, lift from the console end rather than pulling from the middle, and unthread the belt anchor if it was threaded. If yours was adhesive-backed, expect the pad to leave residue and expect that removing it in cold weather is much cleaner than in heat.
Sources
Everything on this page traces back to one of these. Where a figure could not be sourced, the page says so rather than filling the gap.